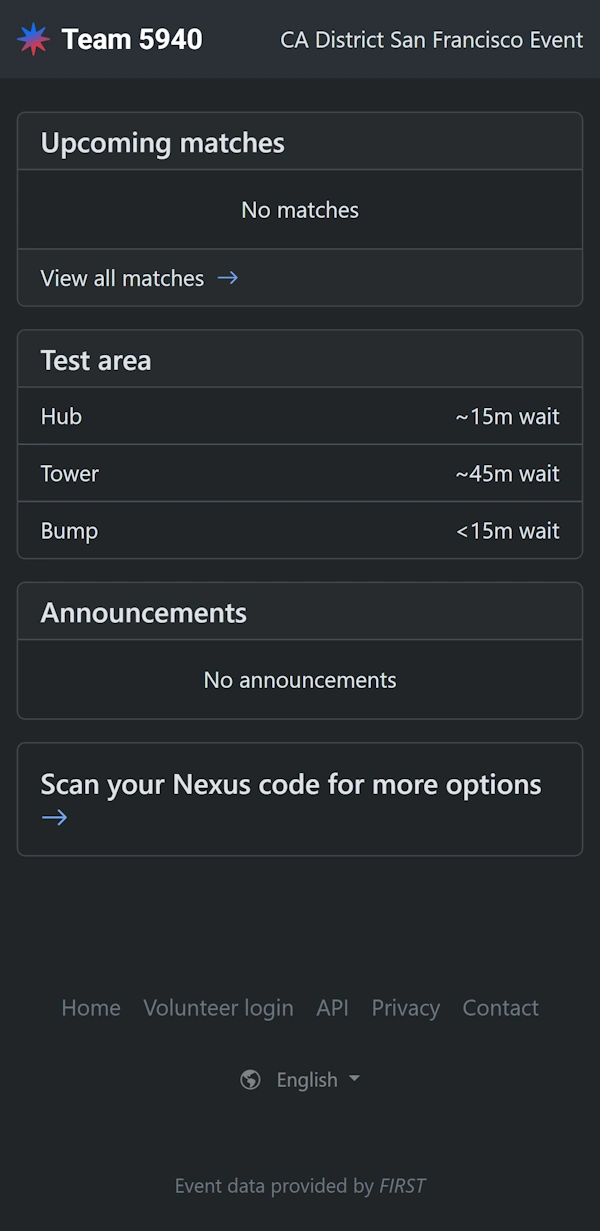
The test area feature can be used to manage first-in first-out queues for timed test areas. The test area attendant uses the interface to track teams in queues and assign teams to specific test areas. They can then easily start and monitor each team’s remaining time. Estimated wait times are automatically calculated based on queue length and displayed to teams on their dashboard.
Access
From the event landing page, select the “Test area attendant” (FRC) or “Practice field attendant” (FTC) option. You’ll need the Test area manager role to access this view.
Test area configuration
This feature is highly configurable to allow it to function for a wide variety of test area and practice field setups at events. Customize the test area configuration to match the capabilities and capacities of the test area at your event. A default configuration will be pre-populated.
Each row represents an area that will be managed by a separate queue. For example, if the test area has three elements that teams will want to independently test with (Hub, Tower, and Bump), then you should set three rows in the configuration. If a test area has 6 zones that are all identical, then you should set a single row in the configuration.
For each area, set the number of concurrent teams that can safely use each area at the same time. Set the amount of time in minutes that each team will be allotted to use their assigned zone when it’s their turn.
Once an initial configuration is saved, the test area information will be displayed on team dashboards. Don’t save a configuration if the test area will not be managed in Nexus.
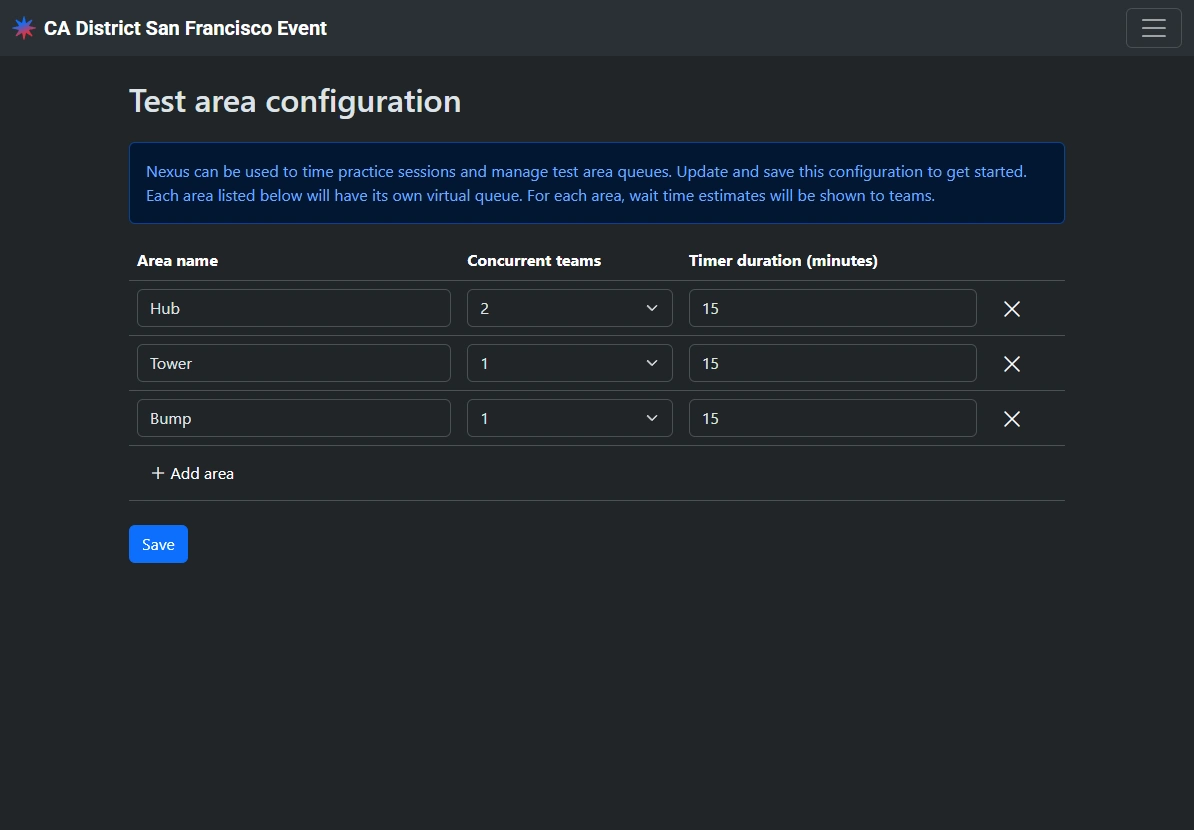
To edit an existing configuration, tap the gear icon in the top right.
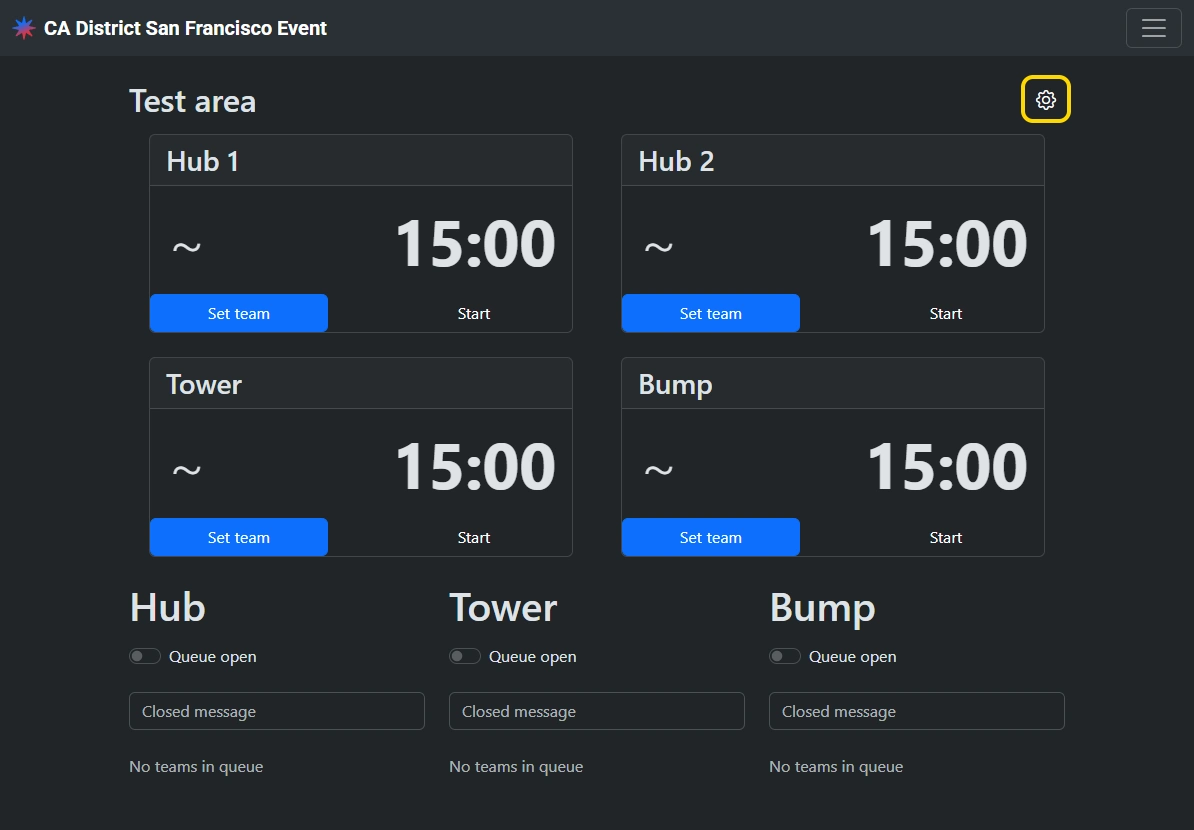
When editing the test area configuration during an event, changes take effect immediately even if a timer is already running.
Opening queues
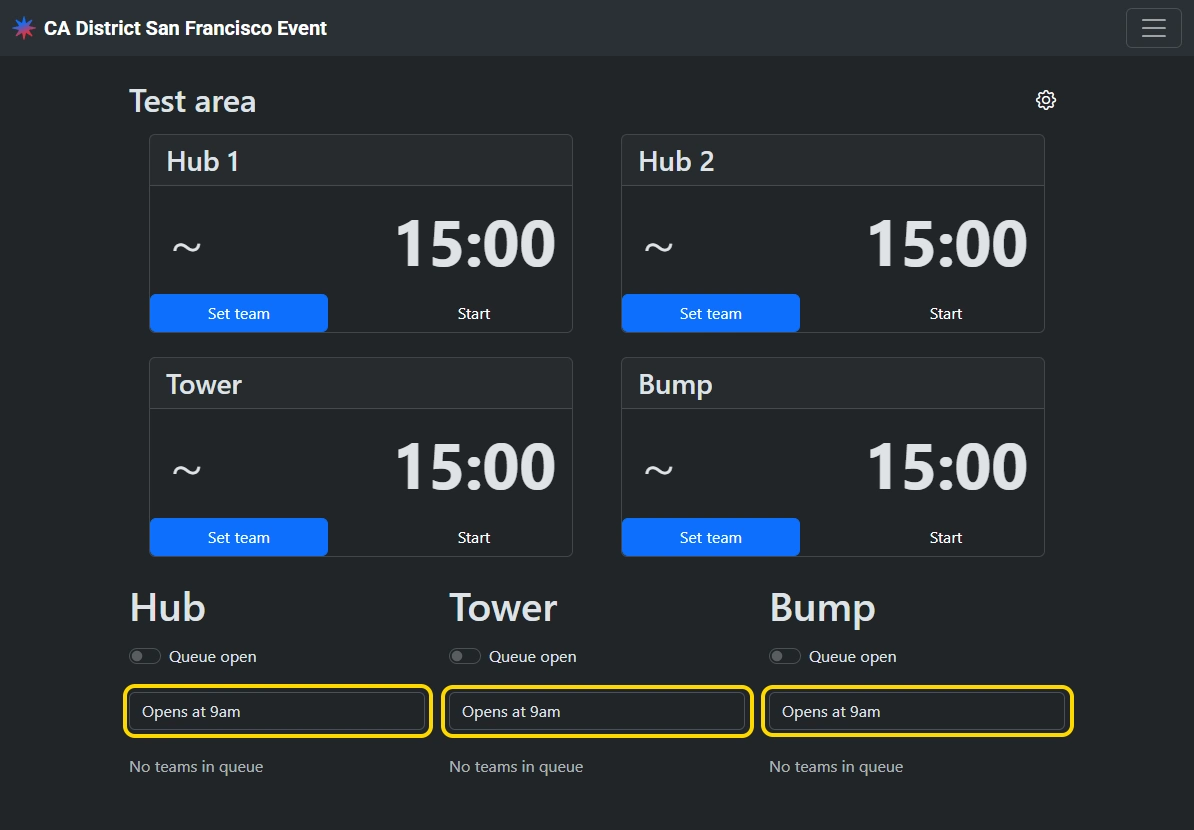
By default, all test area queues are closed. When closed, a “closed message” is displayed to teams instead of an estimated wait time. Customize the closed message to inform teams when the test area will next be open.
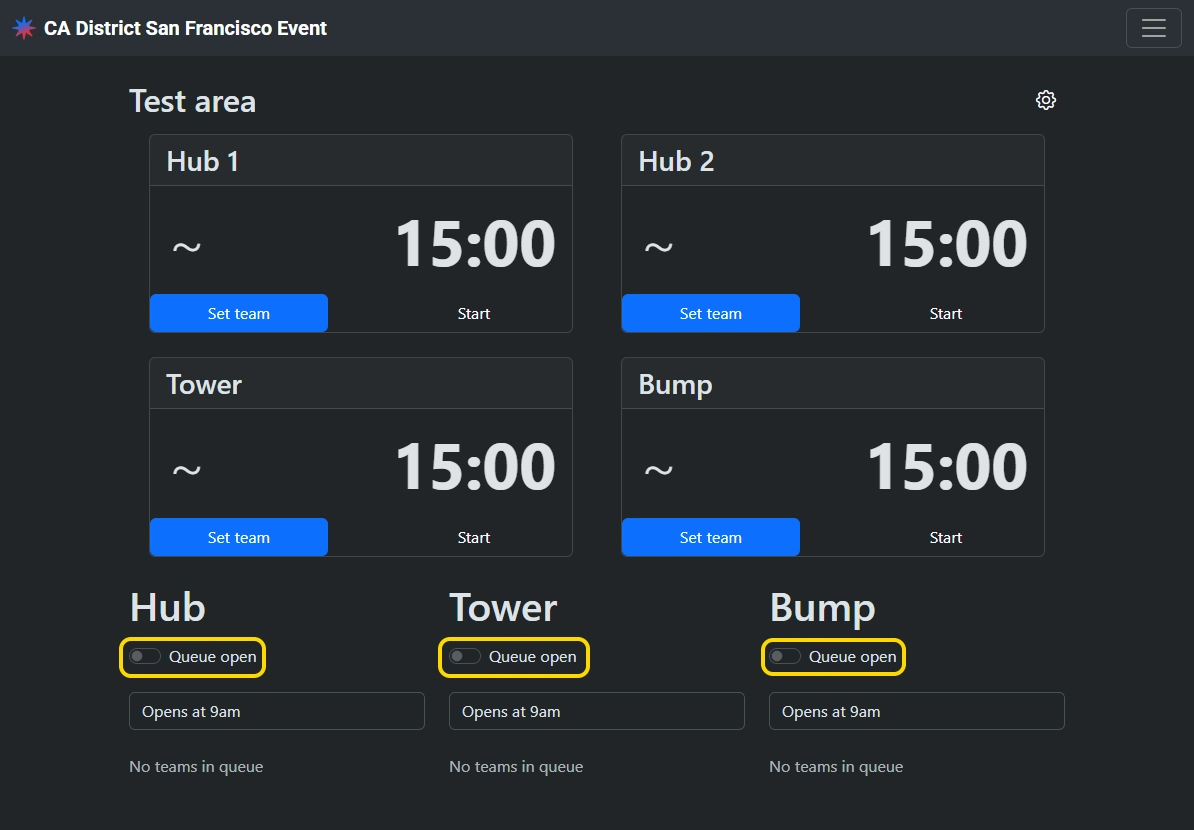
Toggle a “Queue open” switch to enable adding teams to the queue.
Adding teams to queues
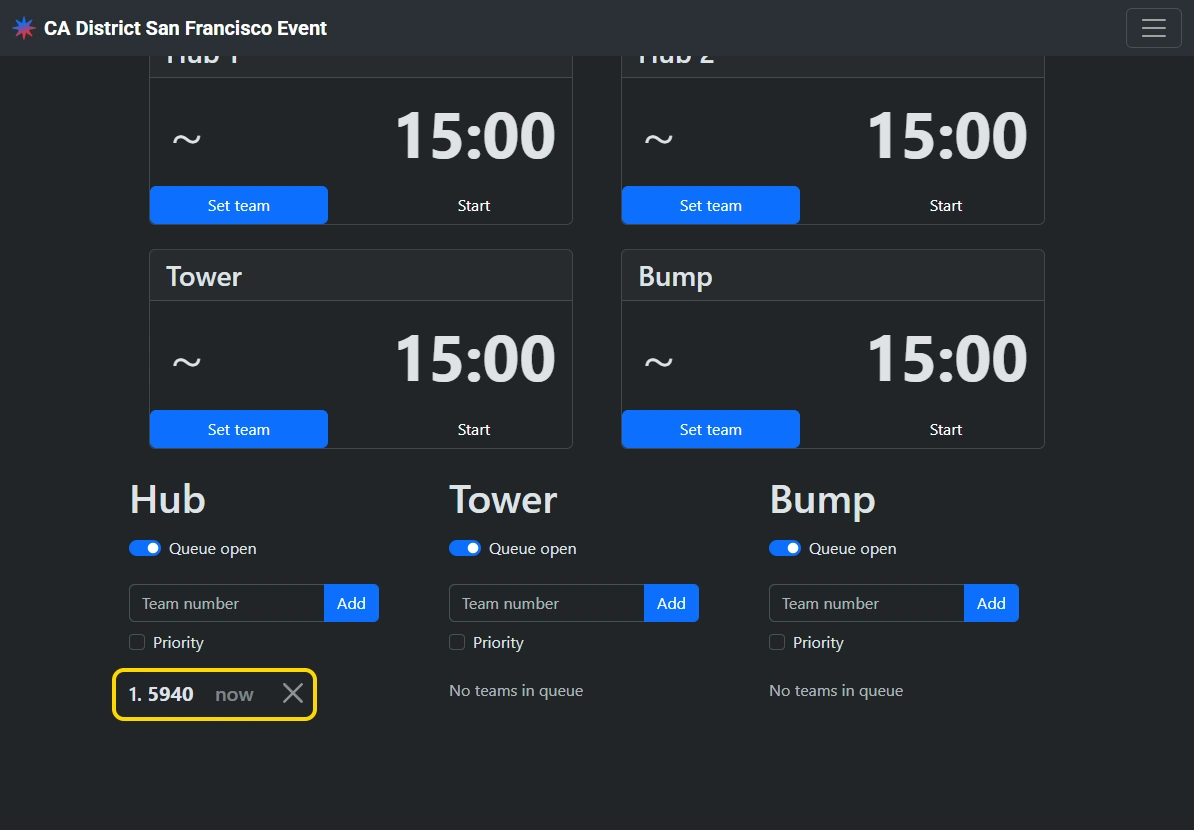
When a team arrives at the test area with their robot, add them to their desired queue by entering their team number and tapping “Add”.
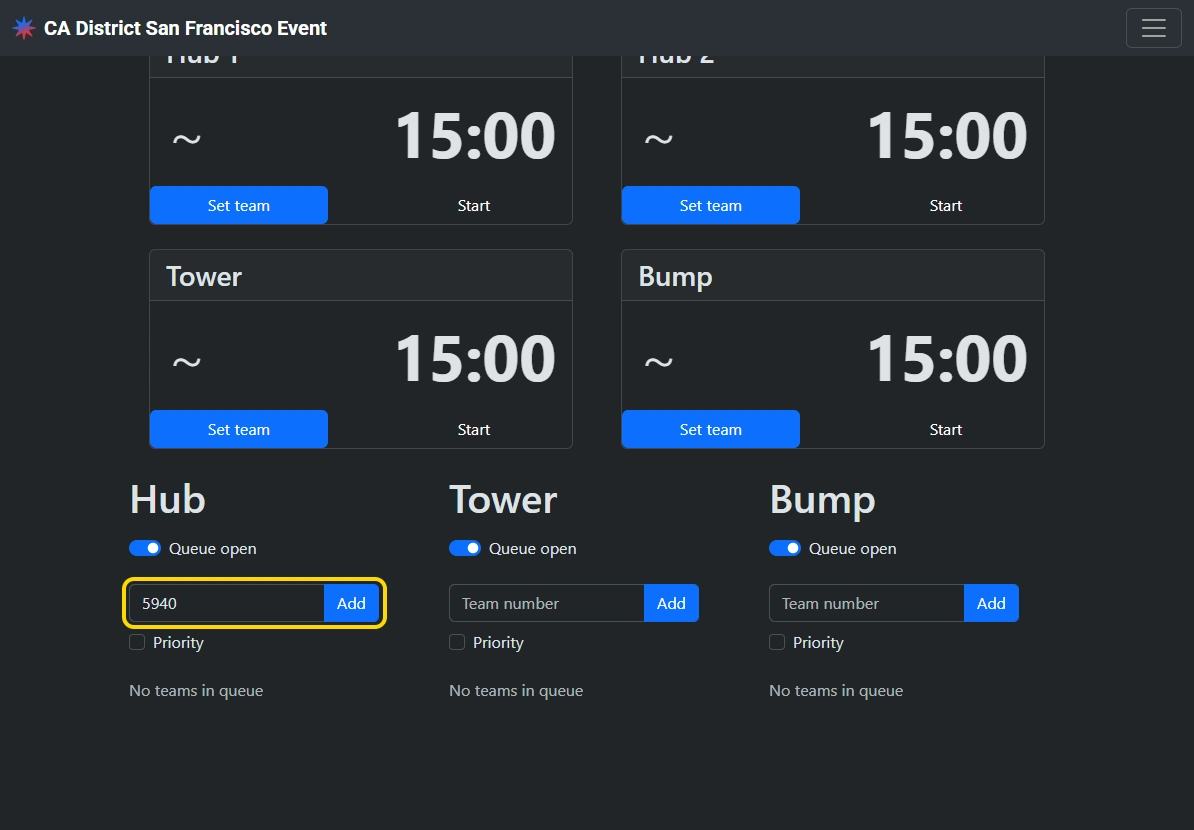
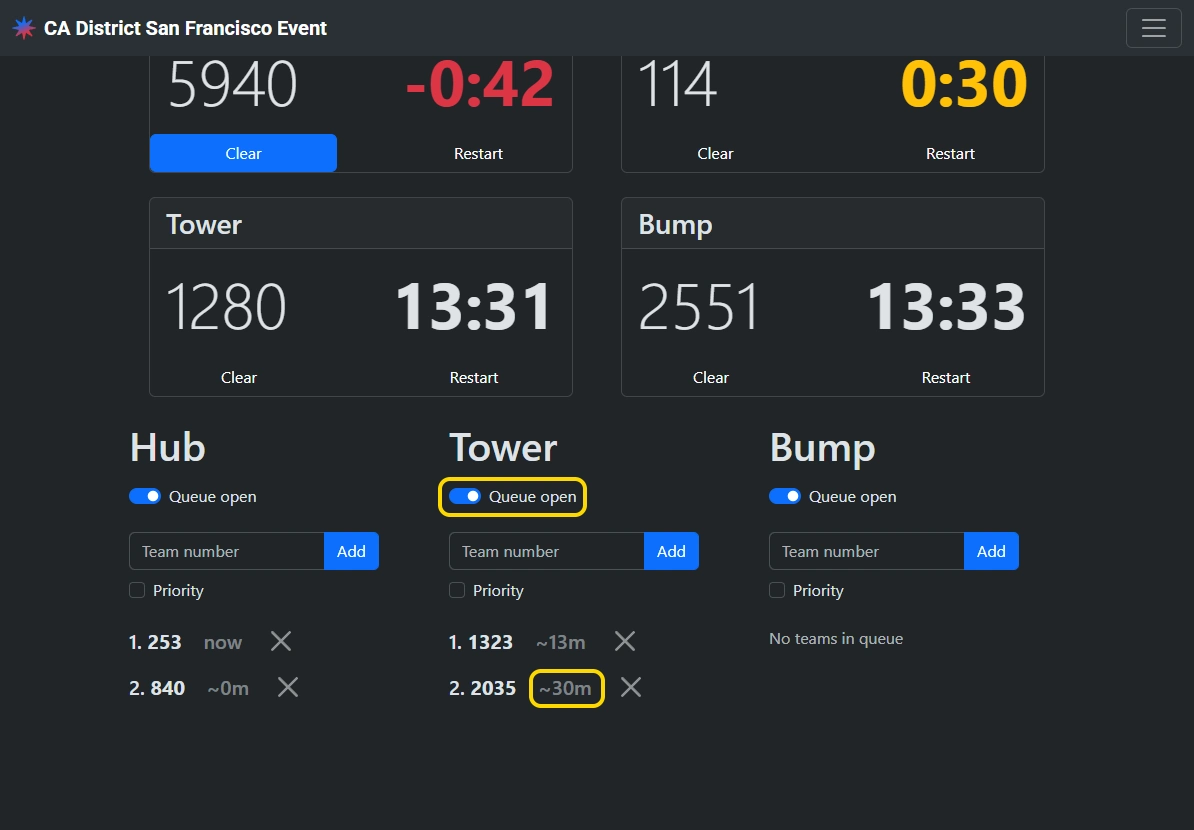
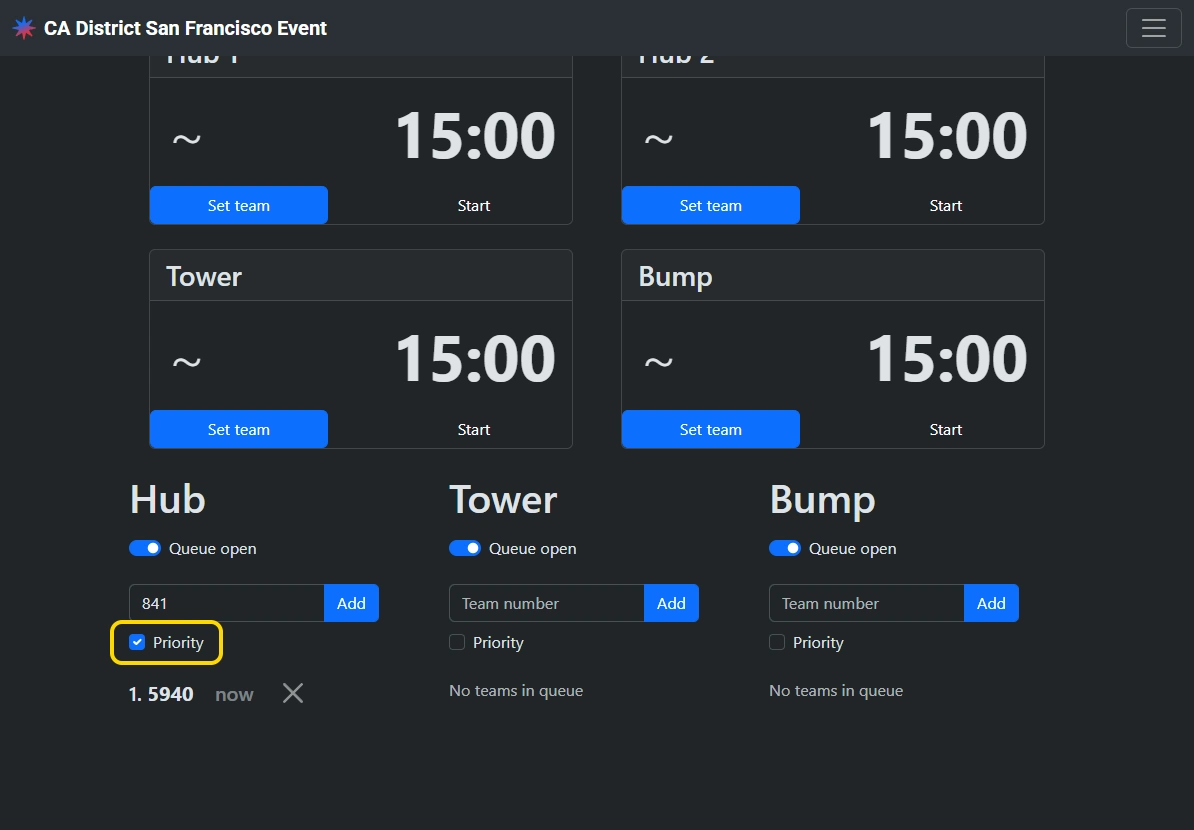
For special cases, teams can be added to the front of the queue by checking the “Priority” option before adding them. This should only be used when requested by event technical staff (FTA/CSA) or to put a team back in the queue after they were unintentionally removed.
Frequently monitor the queuing area to ensure the queues in Nexus accurately reflect reality. Remove teams in Nexus as soon as they leave the physical queue in order to keep estimated wait times accurate.
Assigning teams to a zone
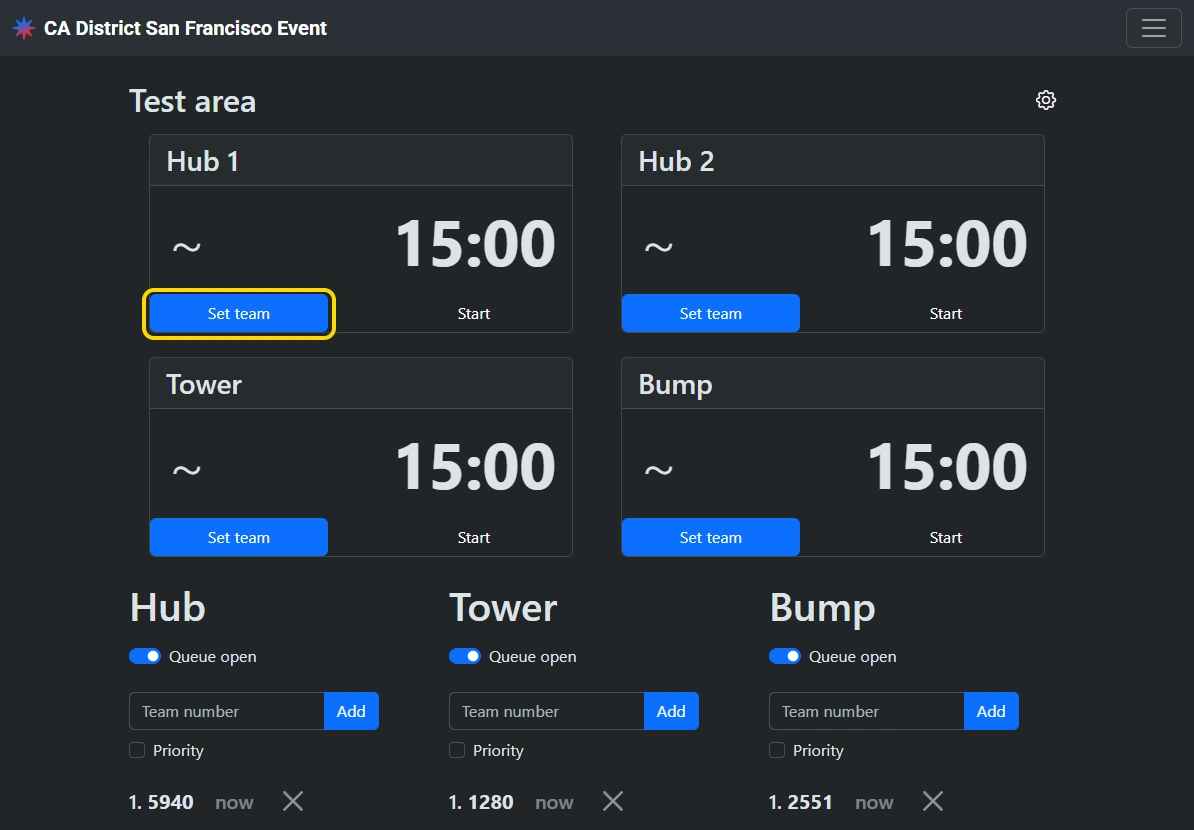
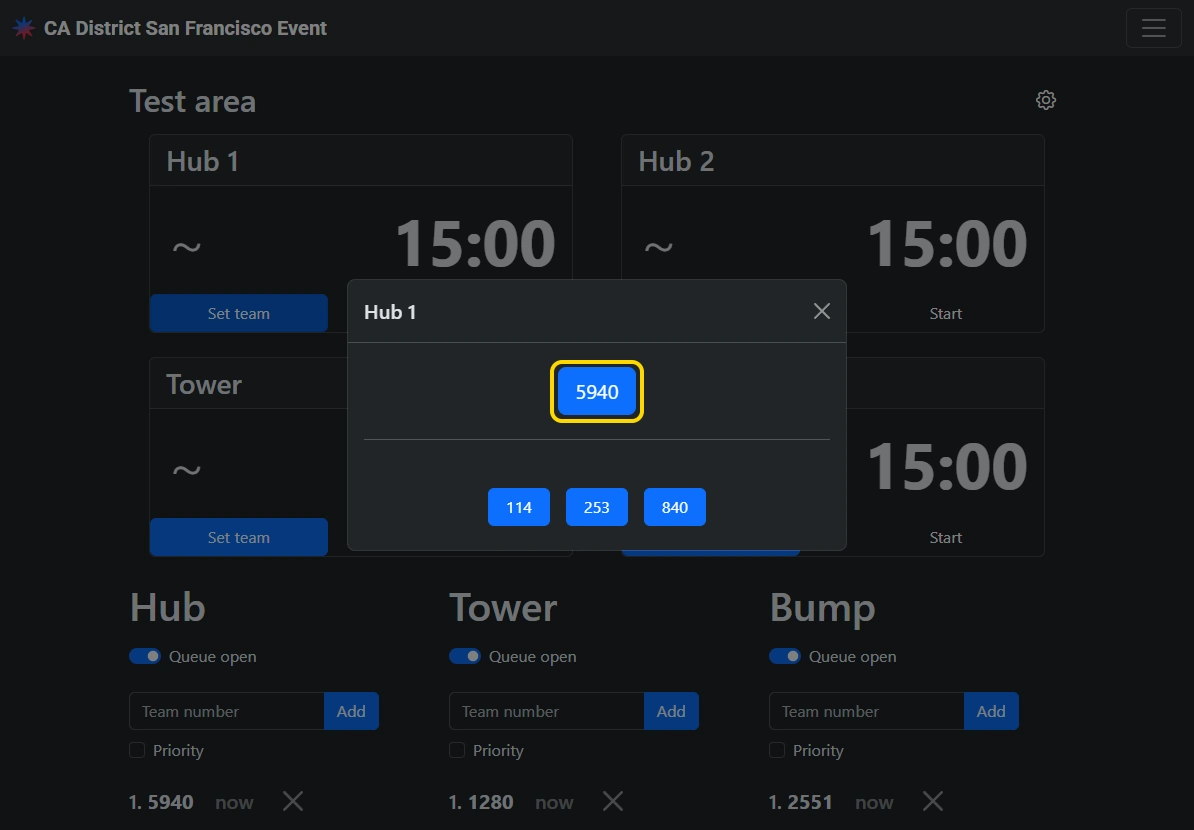
When the test area opens, or after the previous team leaves a zone, assign the next team in the queue to the zone by tapping “Set team” and selecting the team number in the modal. A team must already be in the queue in order to be assigned to a zone.
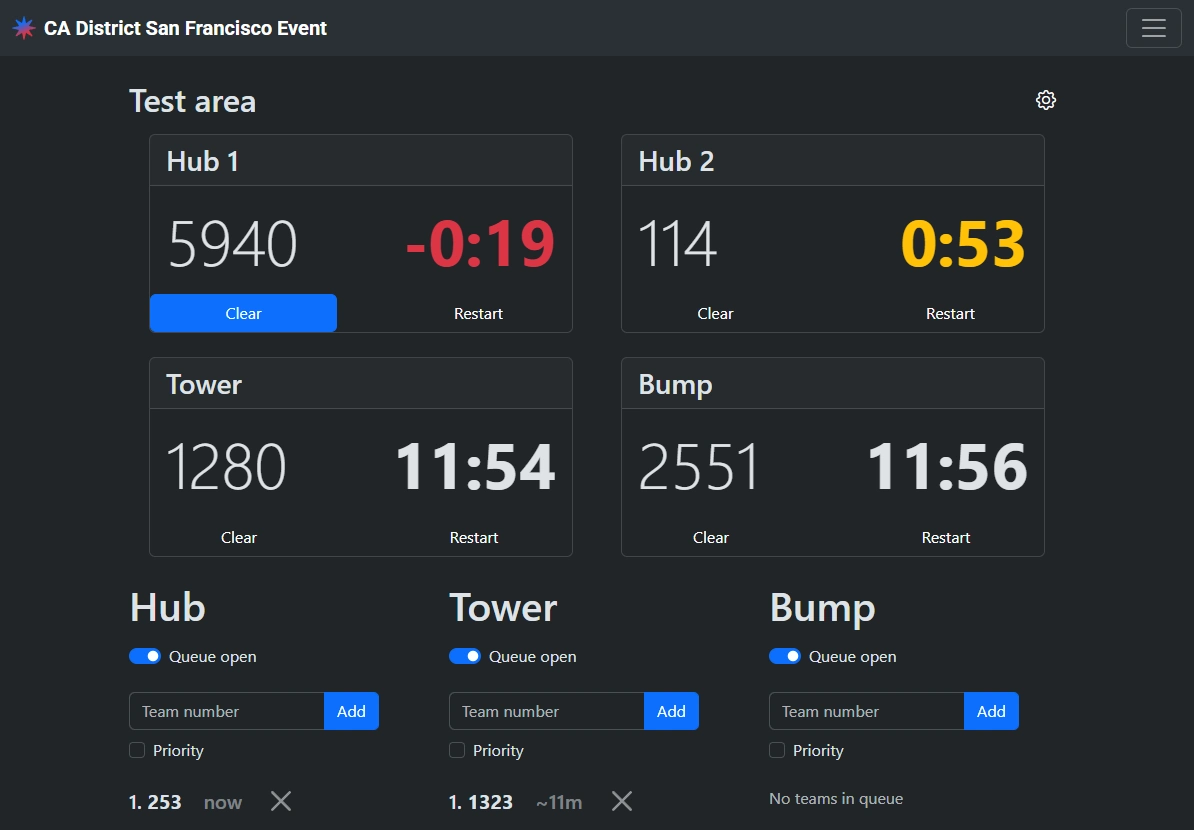
Start a timer
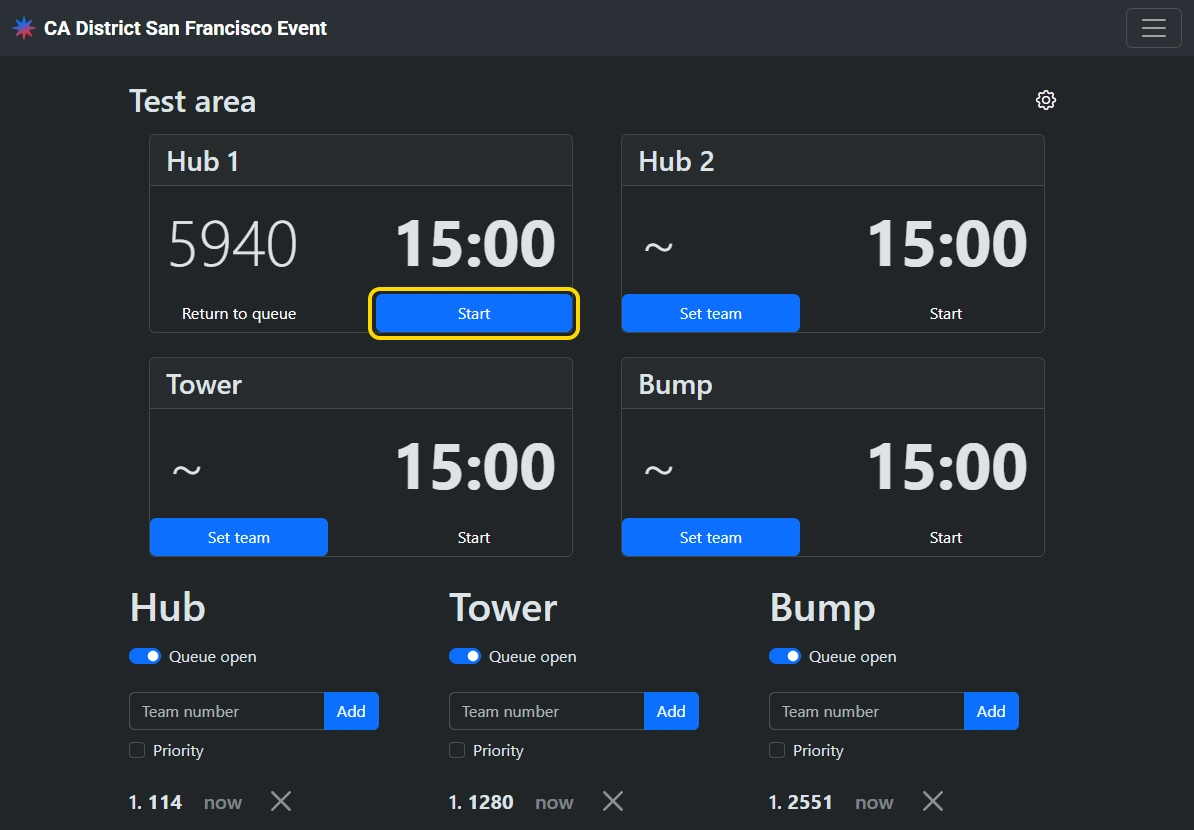
After a team has been assigned to a zone and they have set their robot down, start their timer by tapping “Start”.
Restart a timer
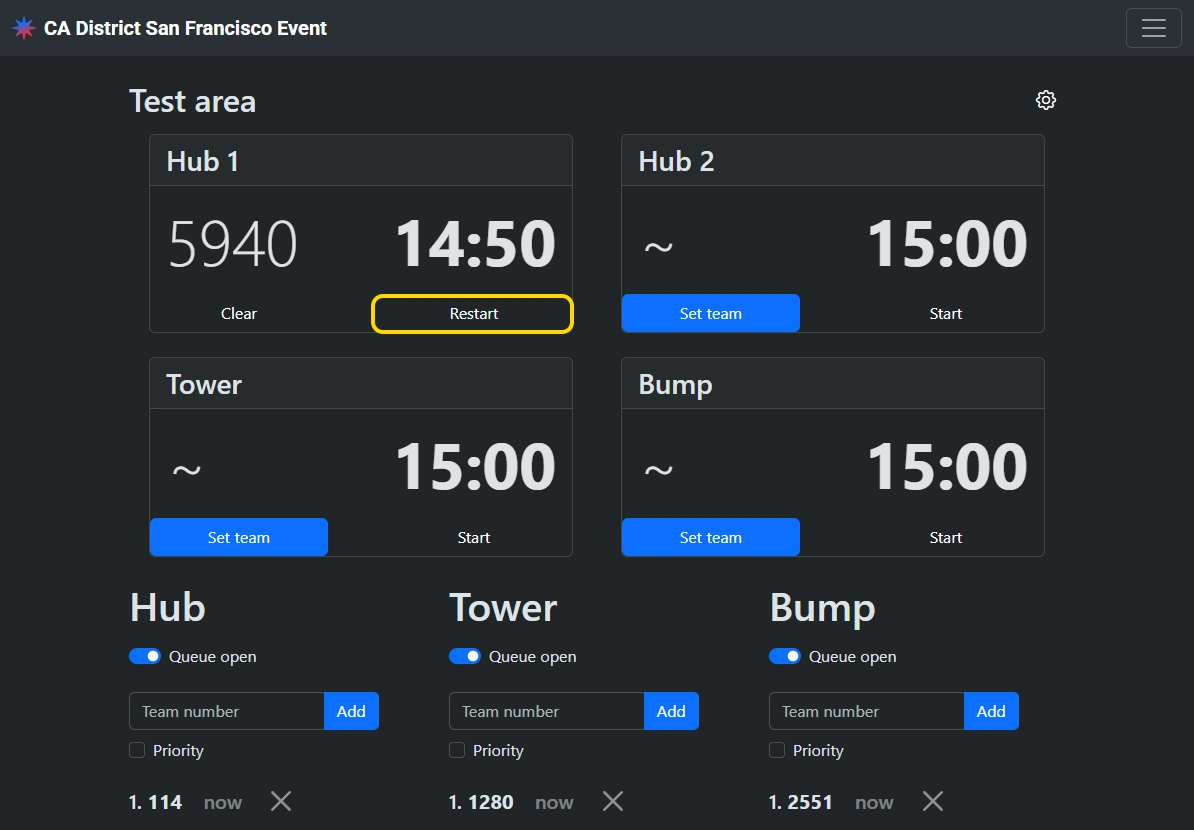
If a timer was accidentally started too early and needs to be reset, tap “Restart” while the timer is running.
Remove a team from a zone
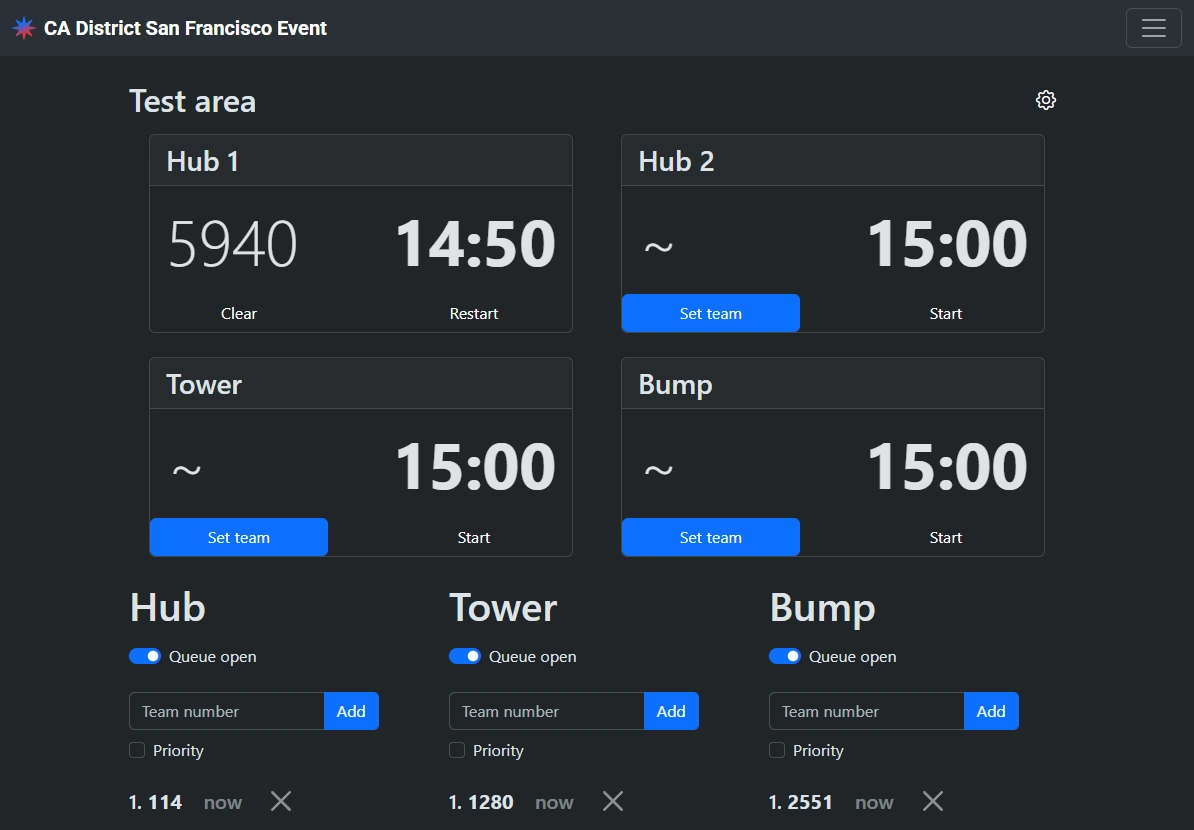
Once a team has left their assigned zone (whether their time ran out or not), tap “Clear” to clear the timer & team assignment.
![]()
Once cleared, assign the next team.
If the next team in the queue is not present with their robot, remove them from the queue and assign the next team.
Close queues
When approaching the test area closing time at the end of the day, monitor the estimated waits for teams in the queues and close each queue at the right time to ensure all teams in the queue can be served before the test area closes. Update the closed message to inform teams when the test area will next be open.