Use Nexus to manage the entire inspection workflow for your event.
Access
Select the “Inspector” option on the main event page. Any user with the Inspector role can update inspection data for teams.
Dashboard
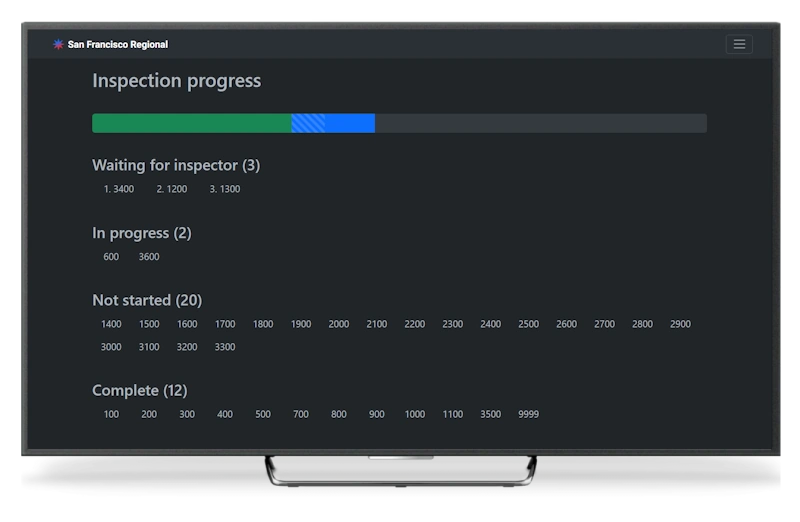
The inspection status dashboard displays every team at the event organized by inspection status. The progress bar at the top tracks the advancement towards getting every team fully inspected. This dashboard can be displayed on a TV or monitor at the event.
Statuses
Each team has one of 5 statuses:
- Waiting for inspector: These teams are in the inspection queue and are waiting to be assigned an inspector. This section is sorted chronologically, so the next available inspector should self-assign the first team listed.
- In progress: These teams currently have an inspector assigned and are on the path to certification.
- On hold: These teams are not ready to continue their inspection. They will come to the inspection desk once they are ready to be added back into the inspection queue.
- Not started: These teams are not ready to start inspection yet.
- Complete: These have passed an initial, complete inspection and have no open reinspection flags.
Pit map view
Prerequisite: A pit map has been configured for your event.
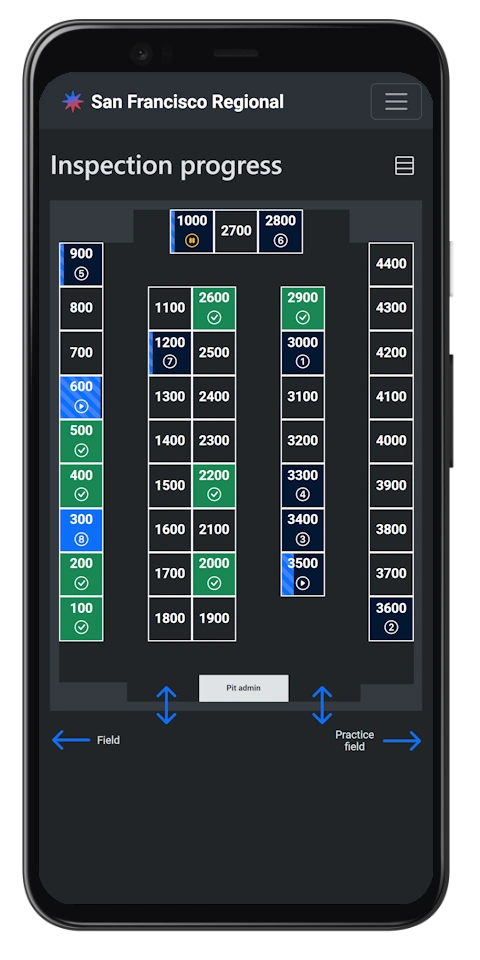
Inspection progress can be viewed as a map by tapping the map icon in the top right of the inspection progress dashboard.
Teams are color coded, and have icons indicating their current state. The proportion of the team’s square that is bright blue indicates what percent of inspection items have been checked.
- Waiting for inspector: Blue background with a circled number icon indicating their position in the queue
- In progress: Blue background with a circled triangle icon
- On hold: Blue background with a circled pause icon
- Not started: Transparent background with no icon
- Complete: Green background with a circled check icon
Inspection queue
If a team needs an inspector, they are in the inspection queue (“Waiting for inspector”). Teams are sorted by the time in which they entered the queue. When an inspector becomes available, they should be assigned to the first team in the queue.
Weigh-in
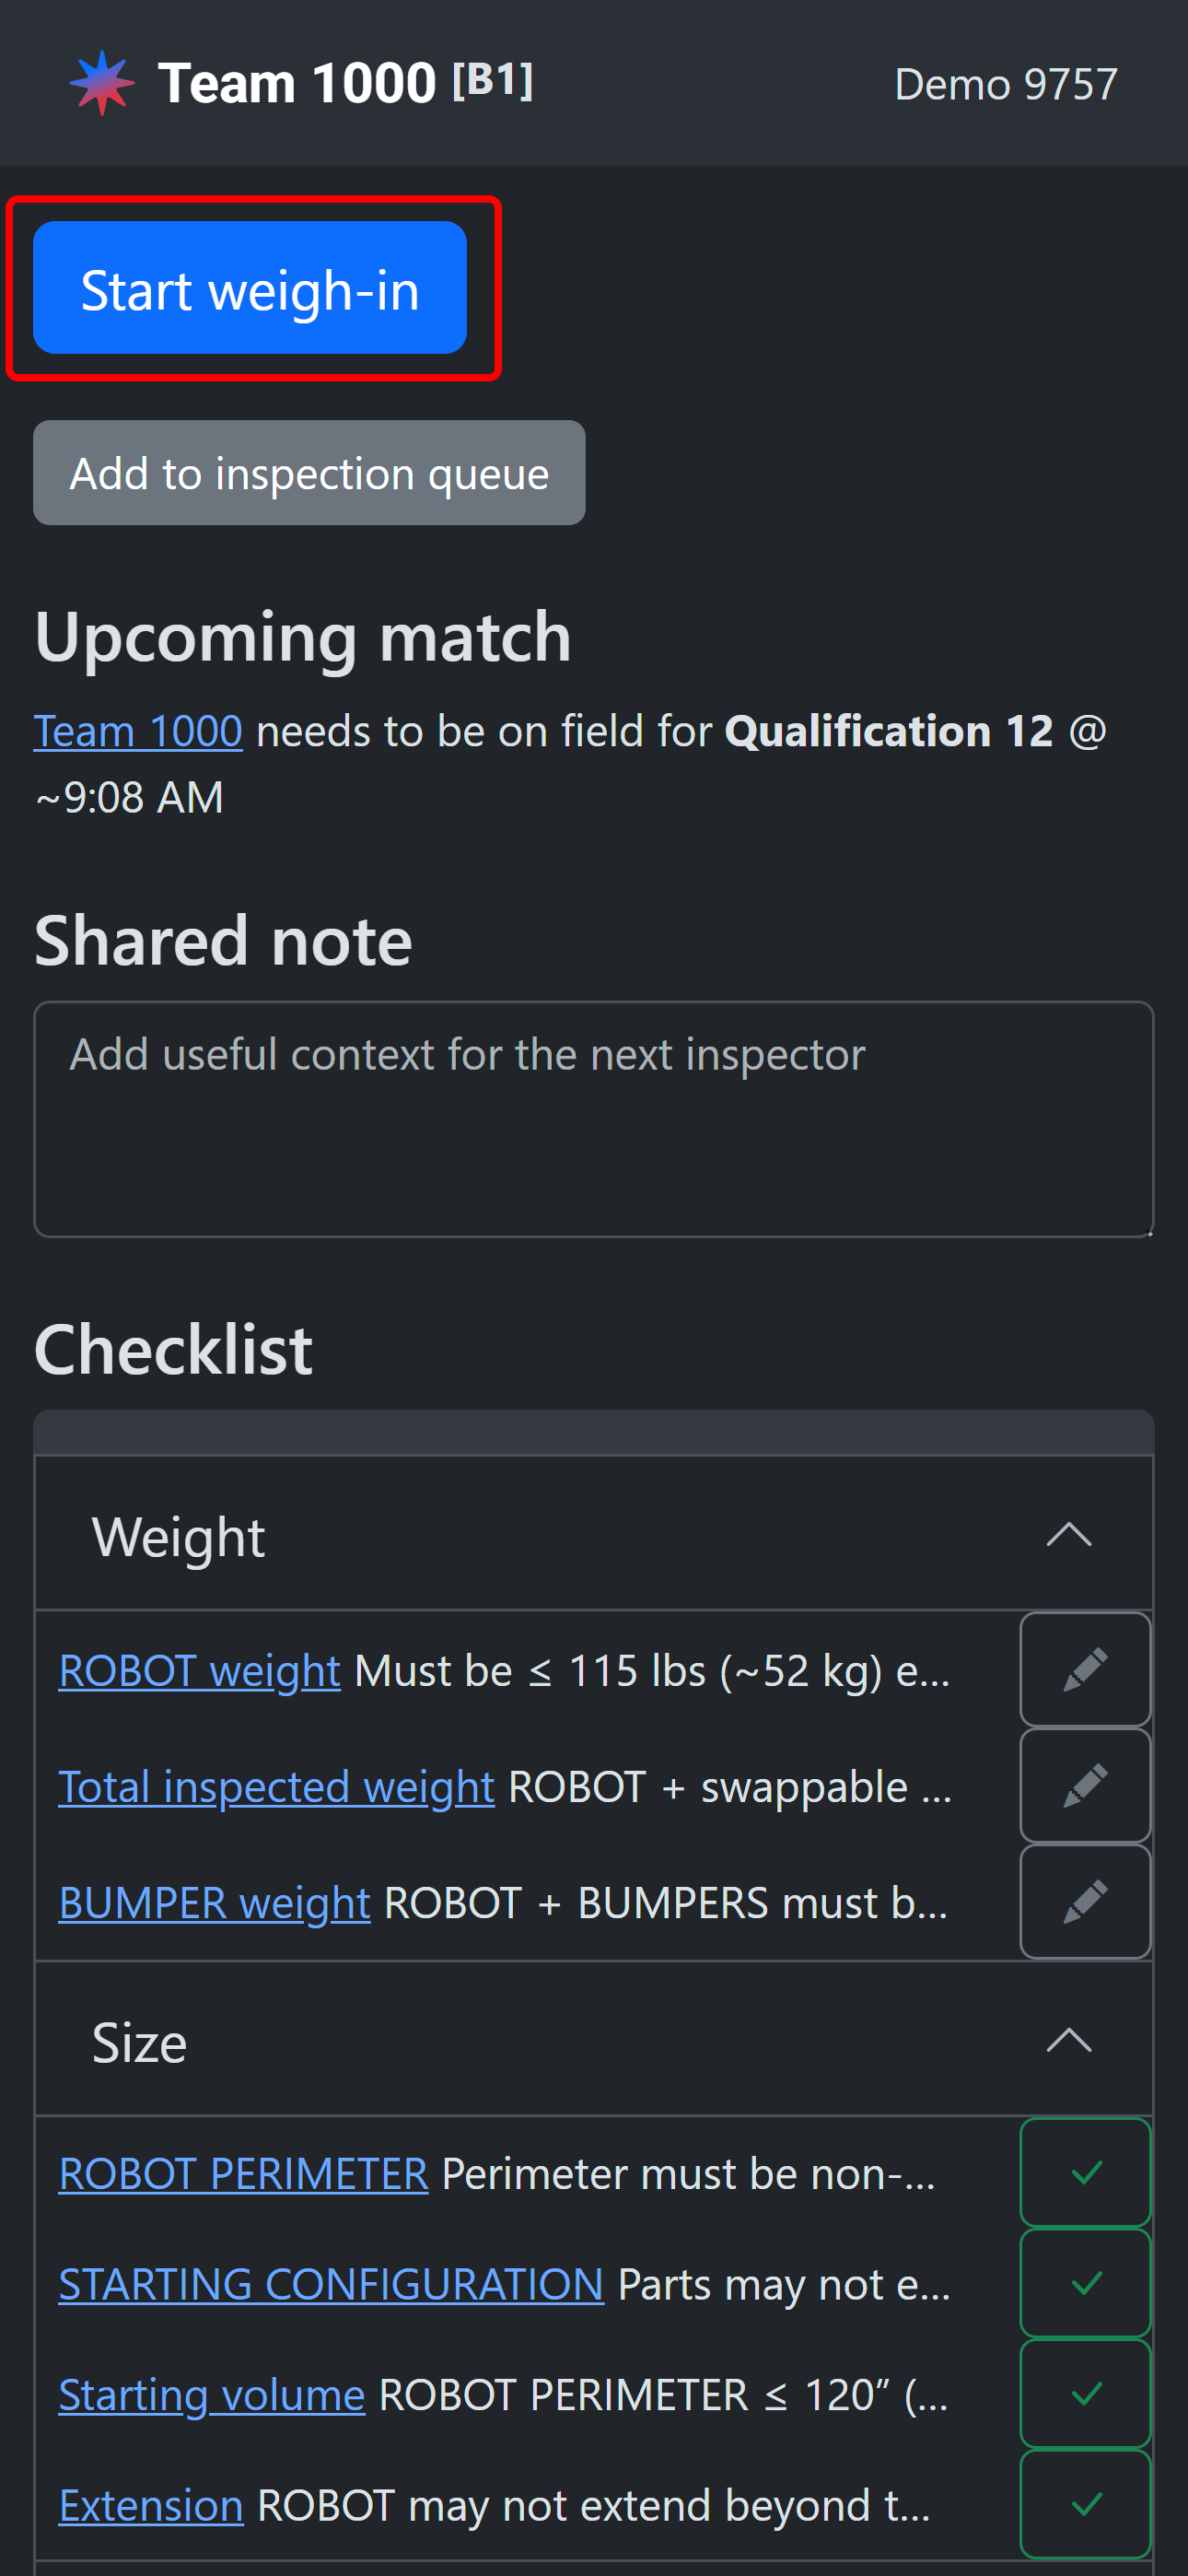
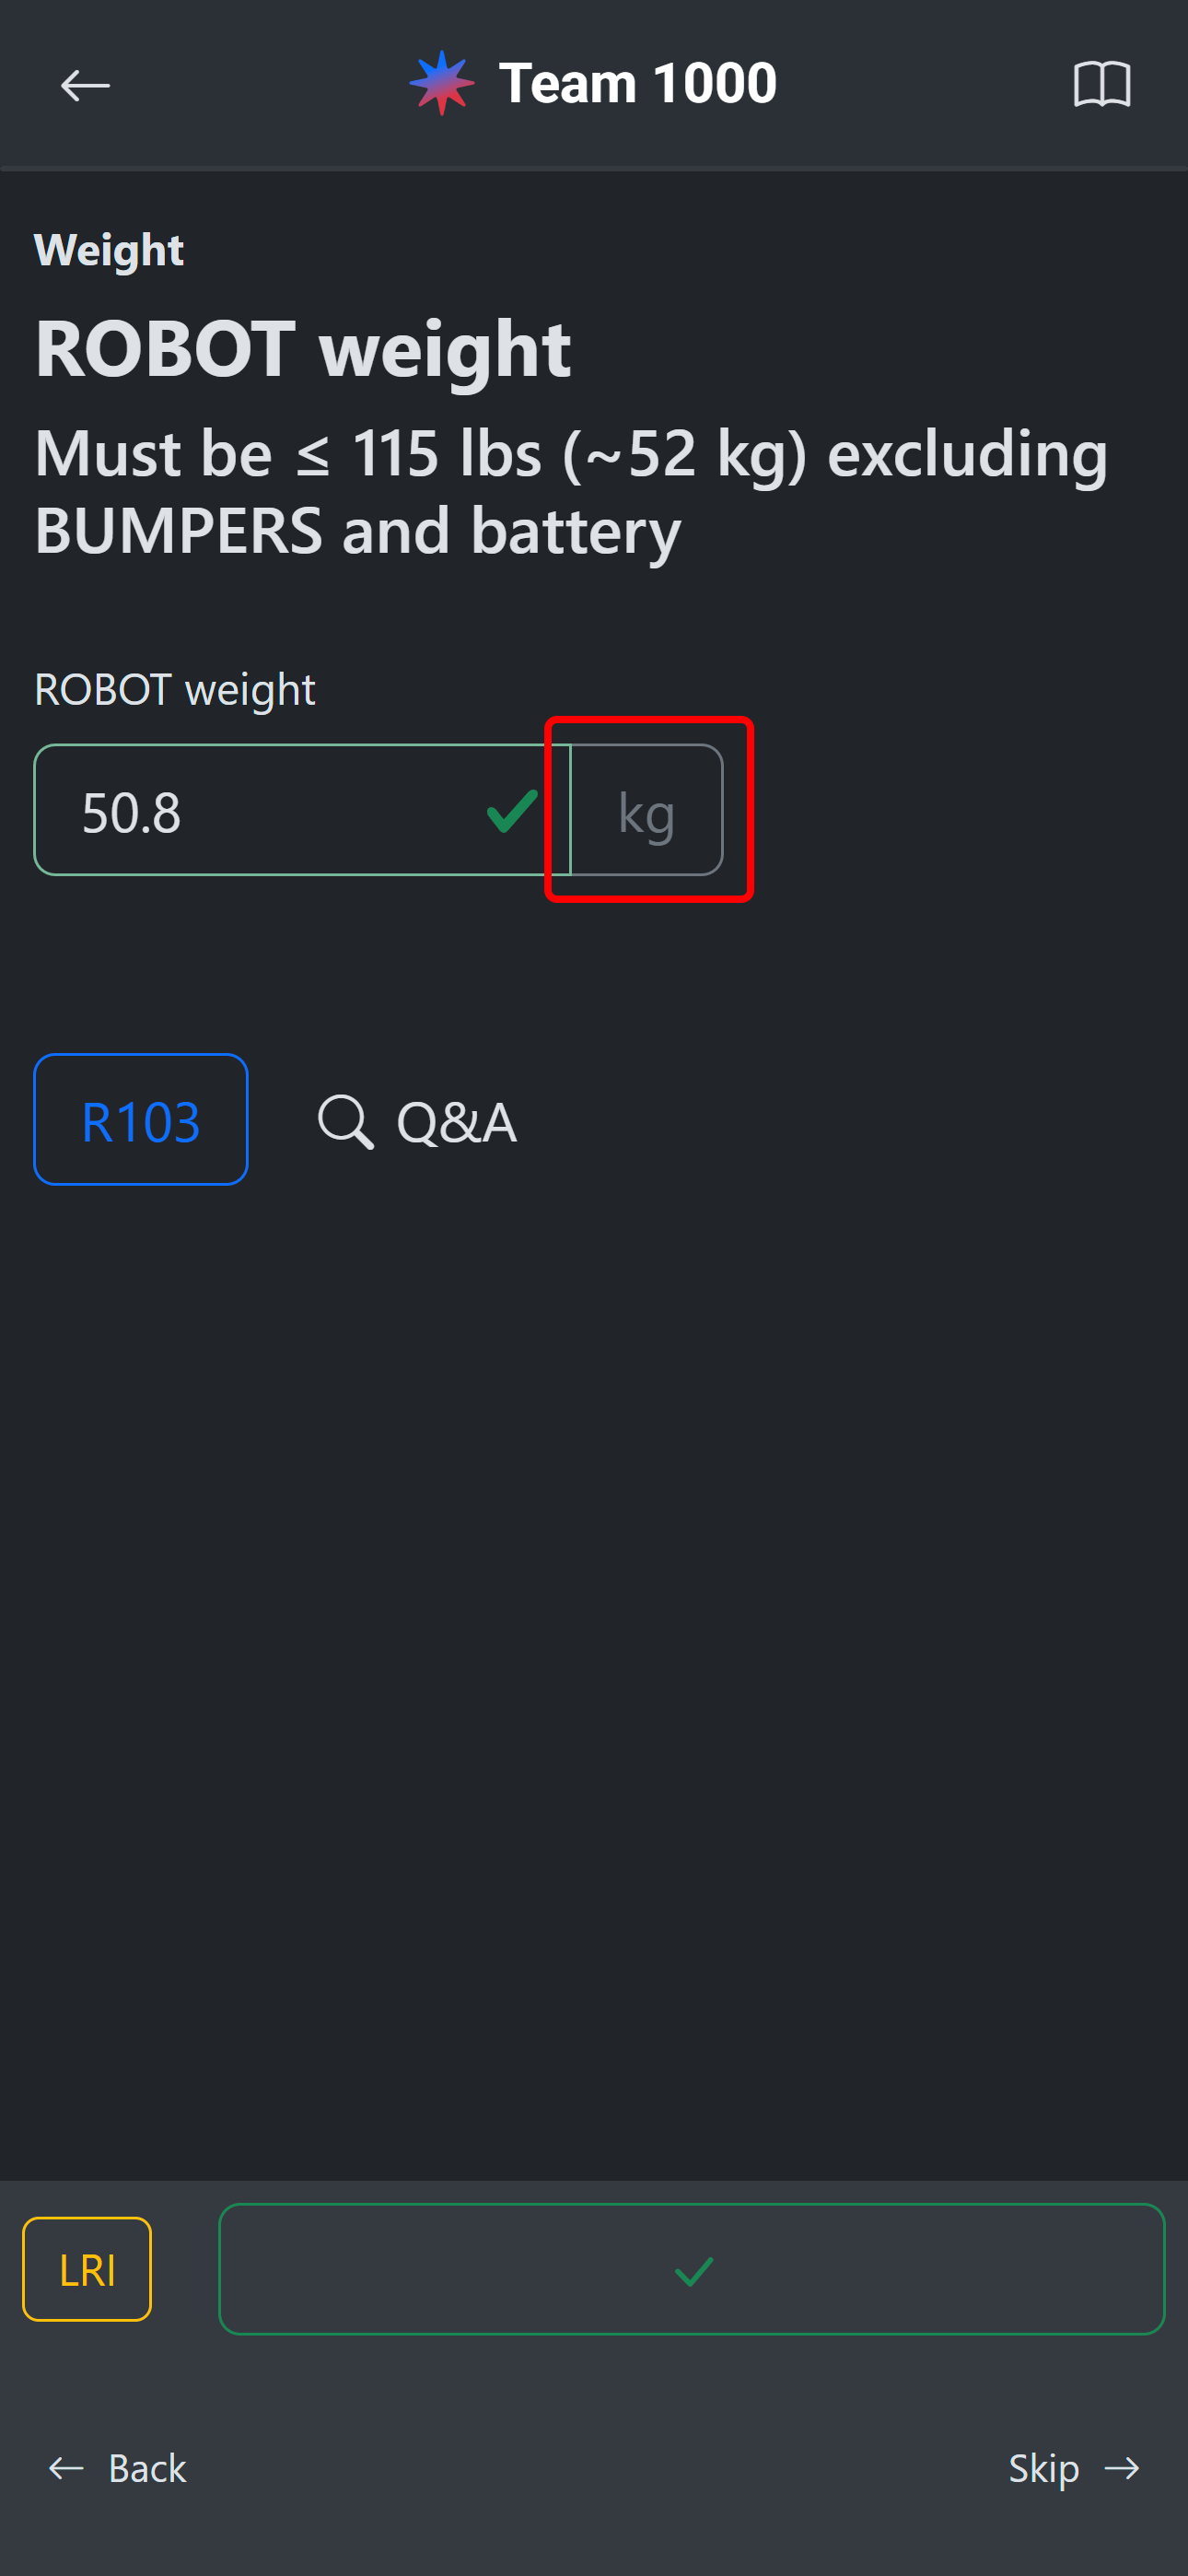
Usually the first step to inspecting a team is the weigh-in. Select the team you are weighing from the inspection status page and tap “Start weigh-in”. Enter the weight value. If the team is not overweight, tap the checkmark. If the team is overweight, tap the skip button. Any non-passing inspection item can be returned to later.
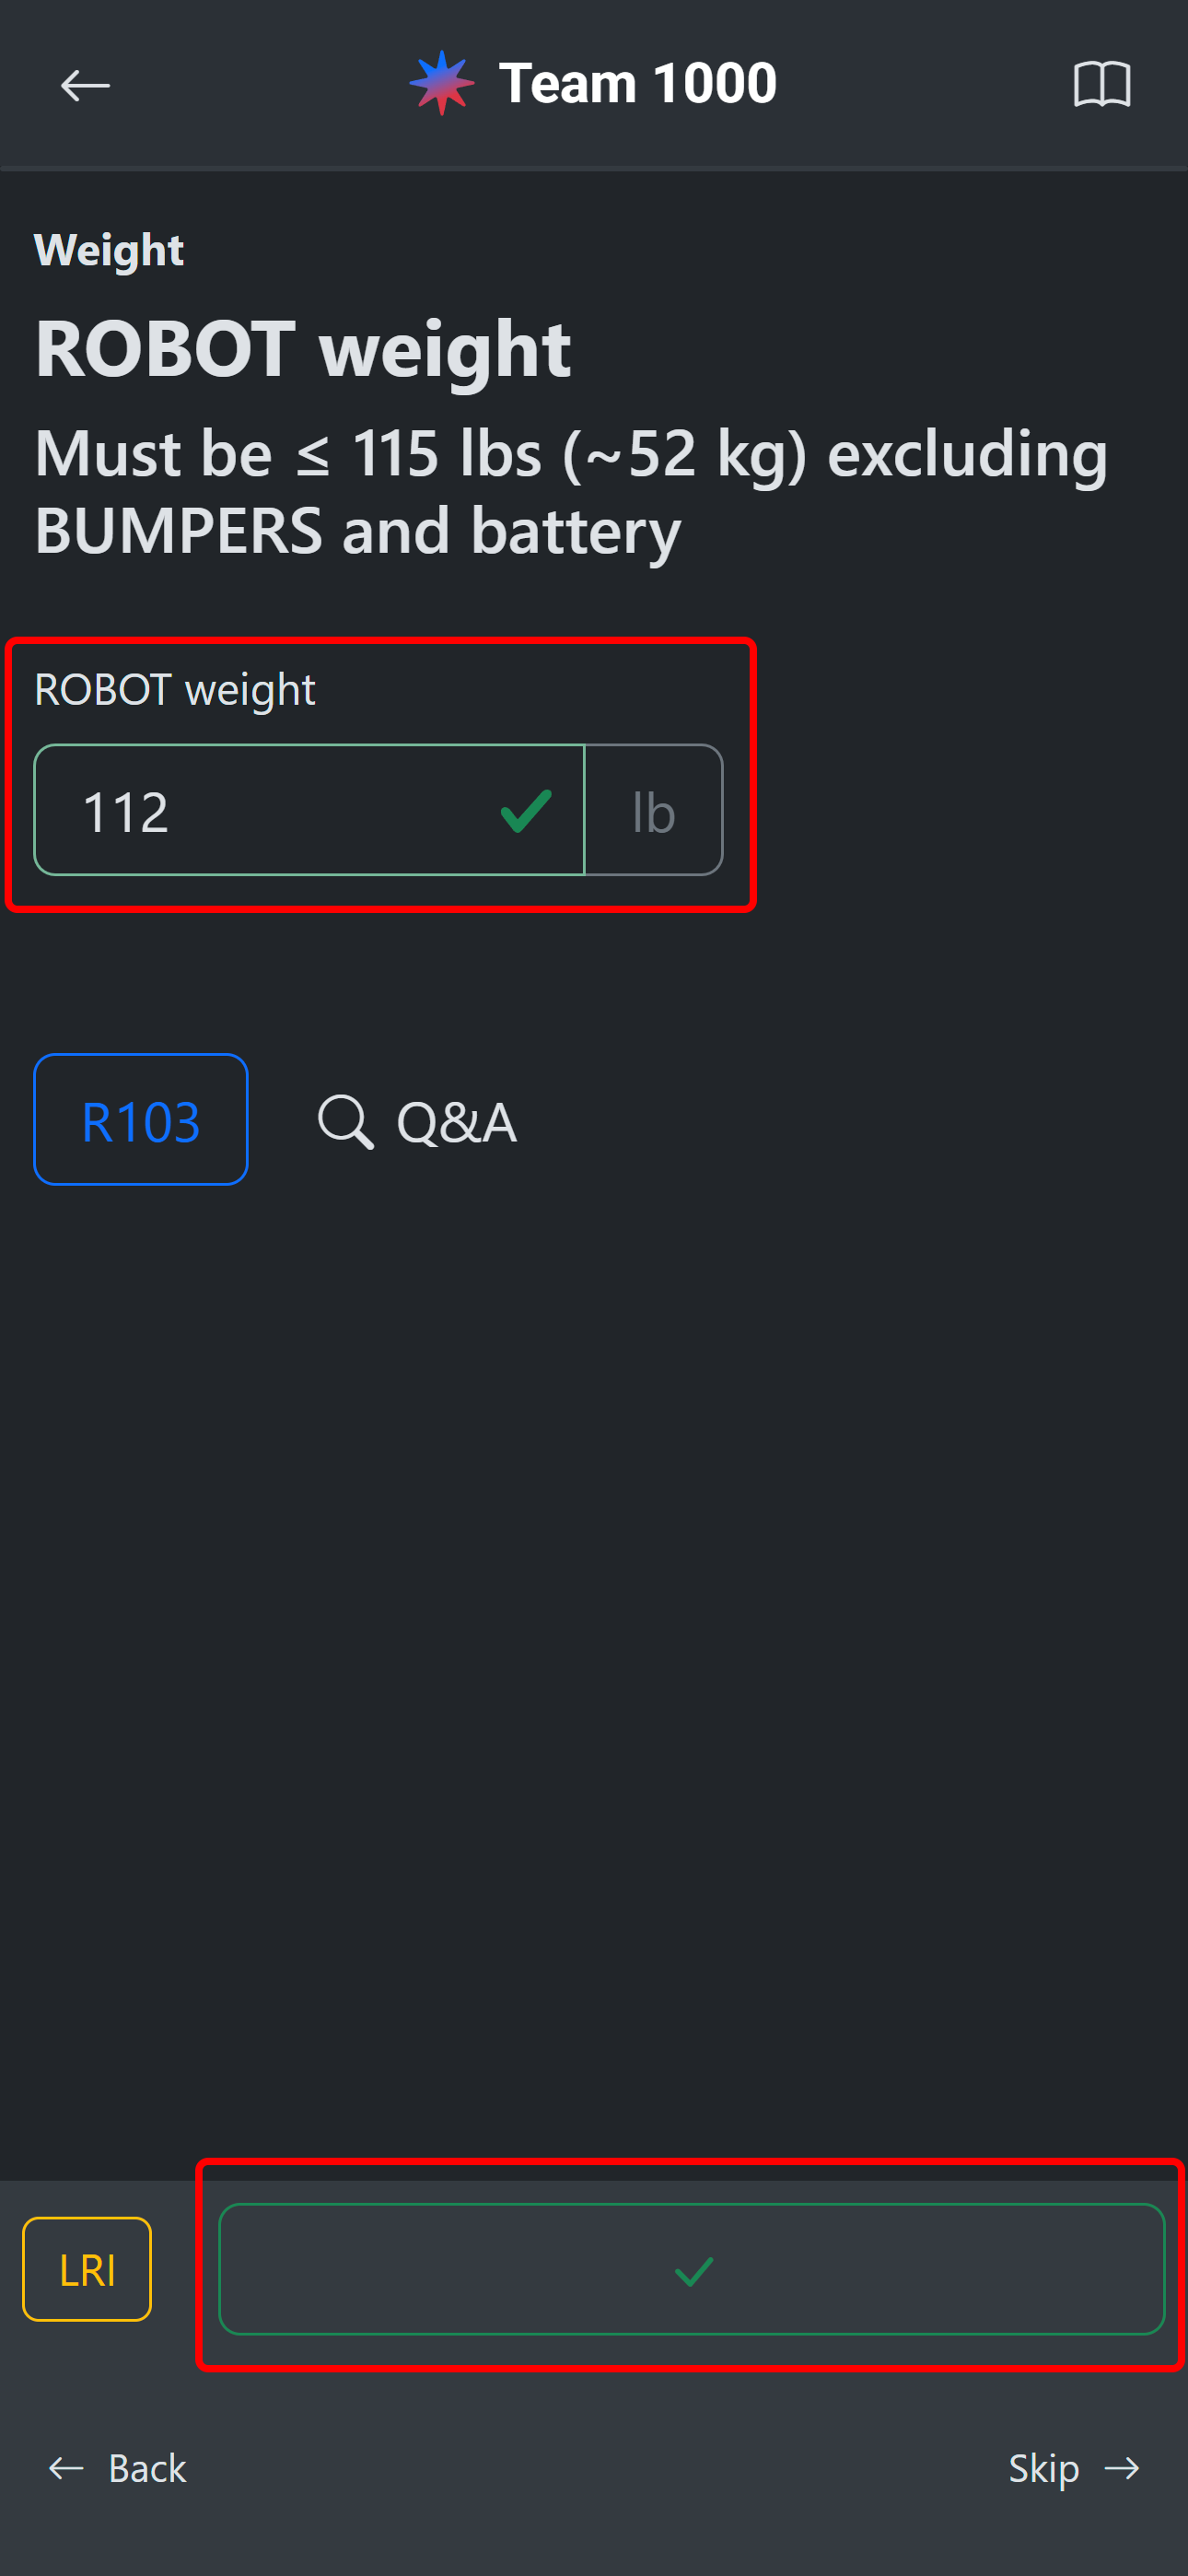
If needed, you can change the units to kilograms by tapping the units button next to each weight input field.
For the bumper weight, enter either the bumper weight or the combined robot + bumper weight. Math with be performed automatically.
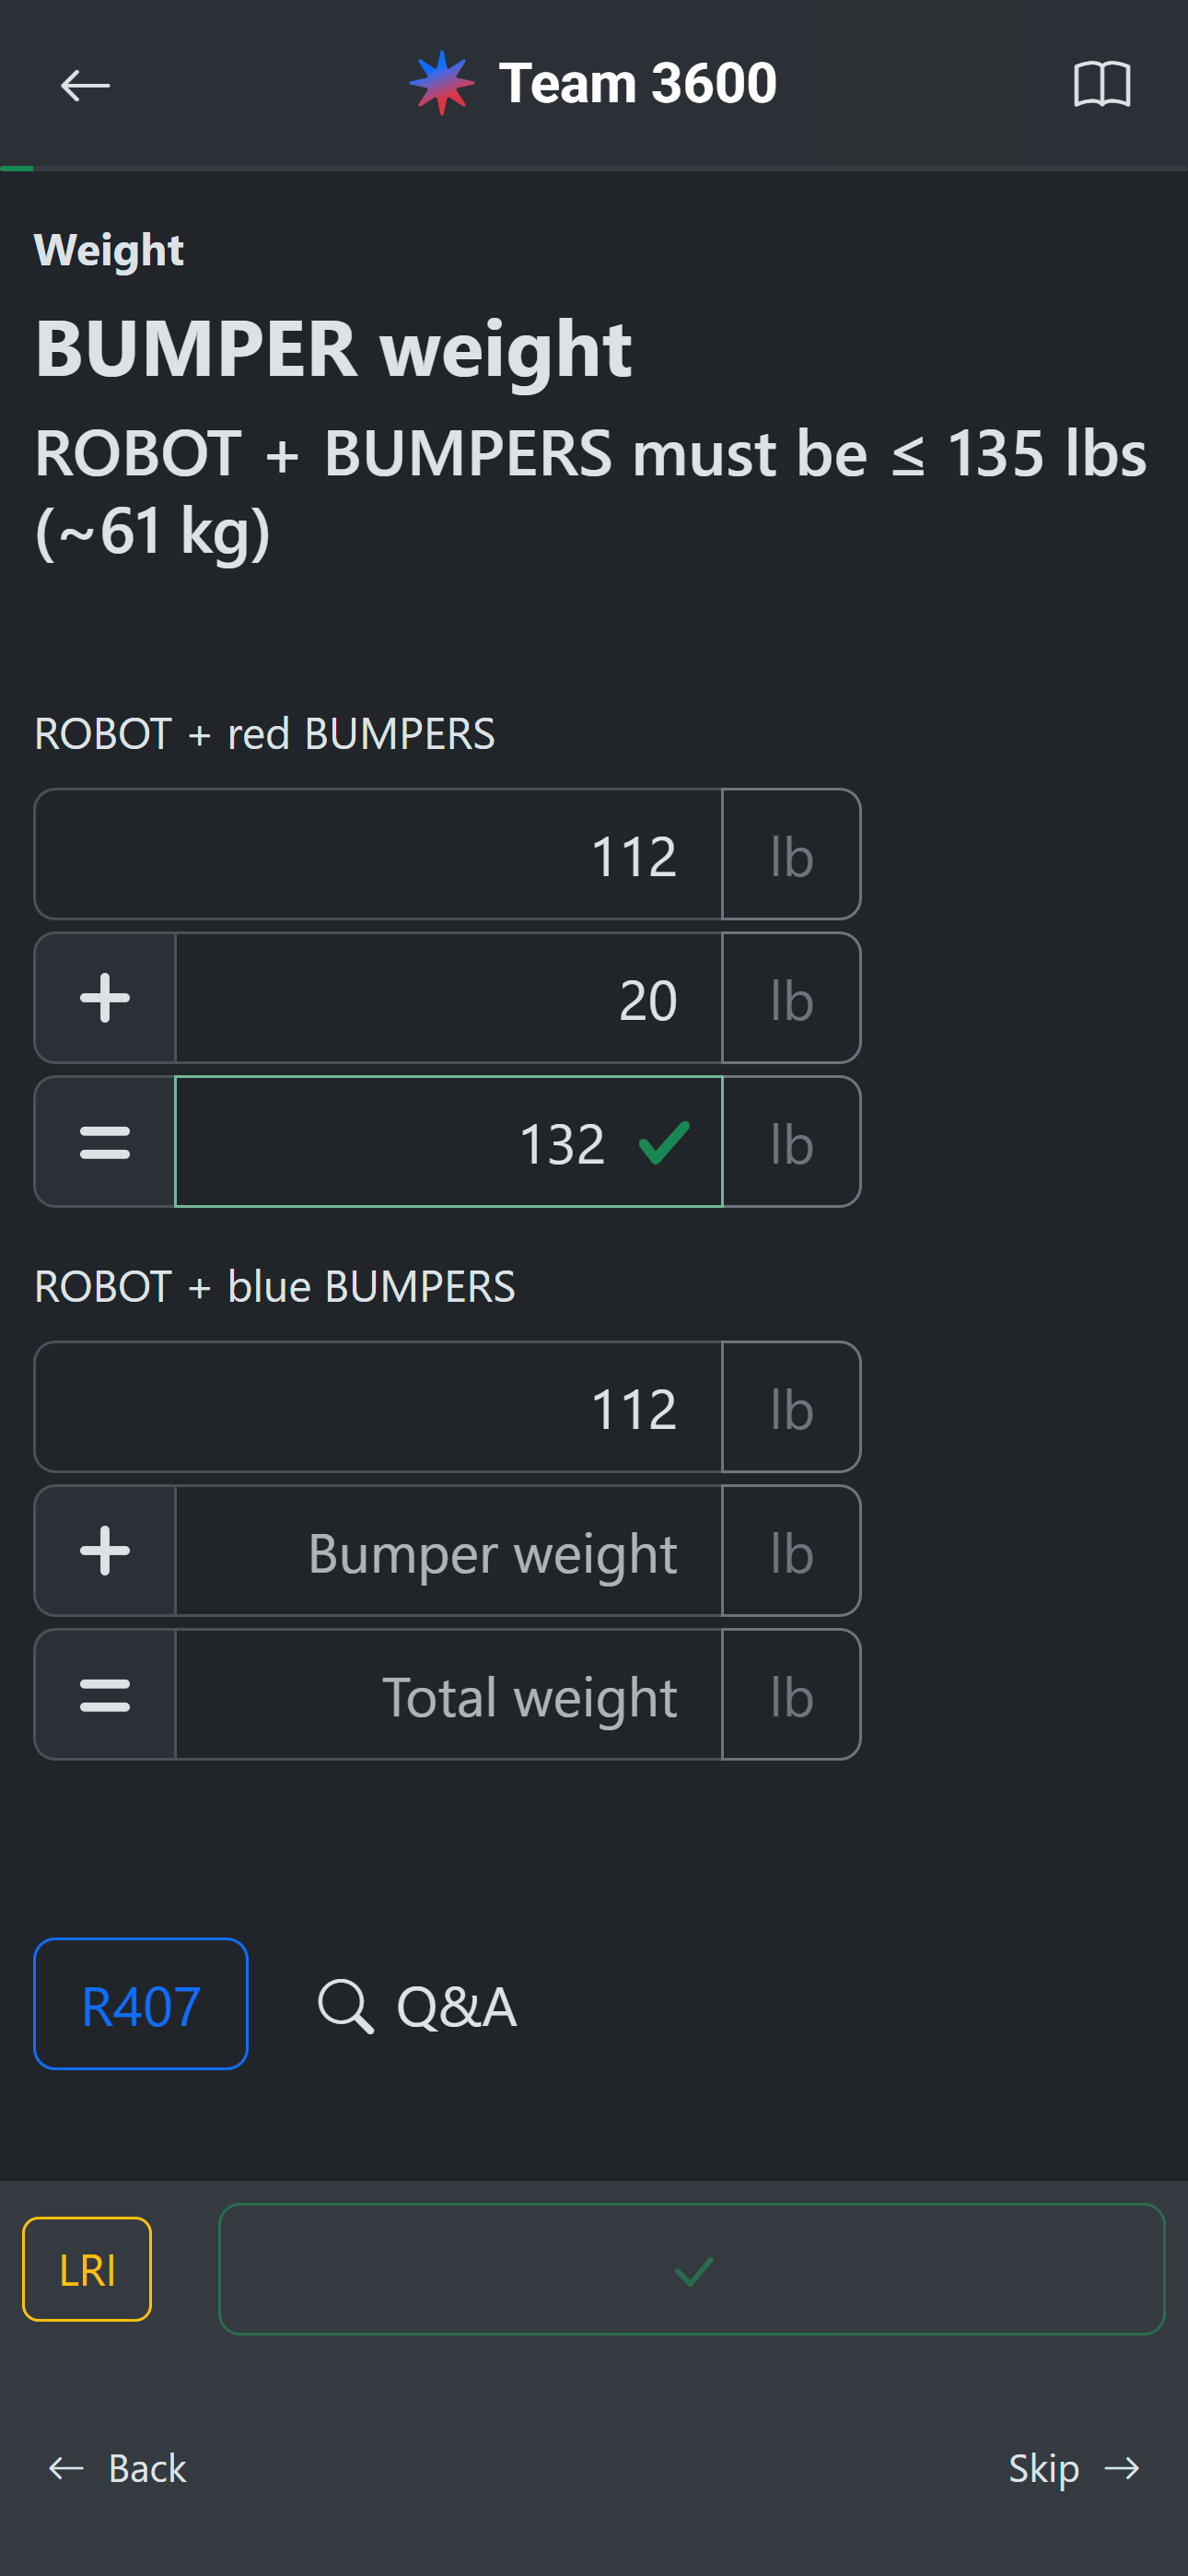
Once all 3 weight checklist items are checked, the weigh-in is complete and the team is automatically added to the inspection queue. If you will immediately continue this team’s inspection, tap “Continue inspection” to assign yourself to the team and remove them from the queue.
The team should wait in their pit for the next inspector to be available.
Main inspection
Inspectors check as many of the inspection items as they can. If the robot doesn’t pass in one go, no problem! The team can be put on hold and returned to the inspection queue when they are ready.
Follow-up inspection(s)
Check any remaining inspection items.
Certification
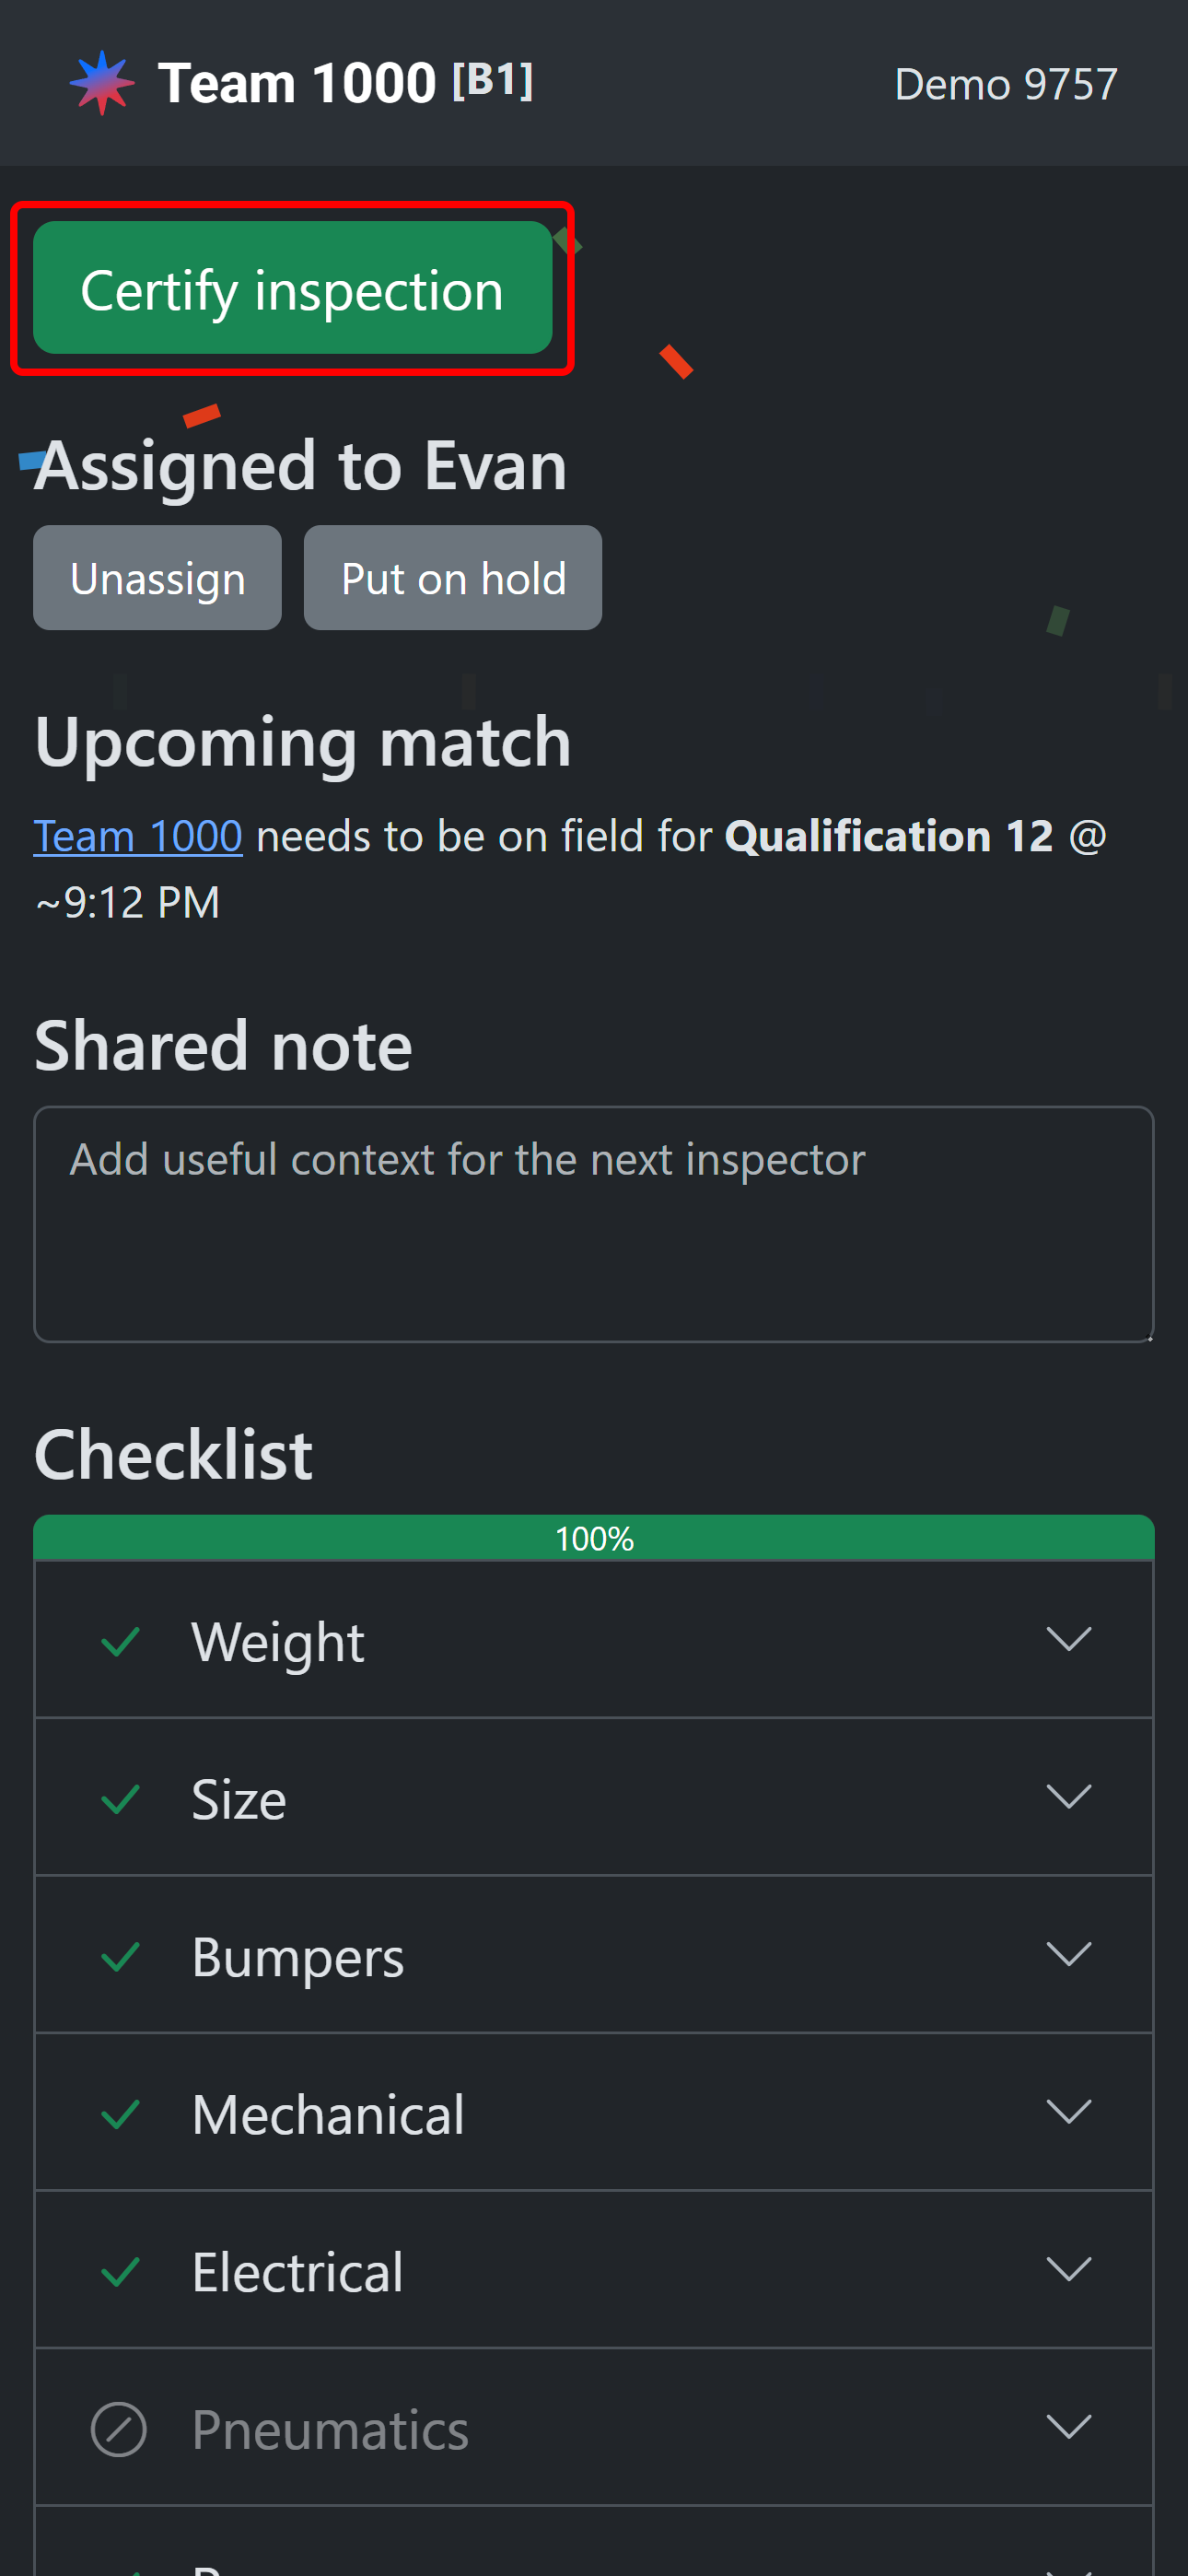
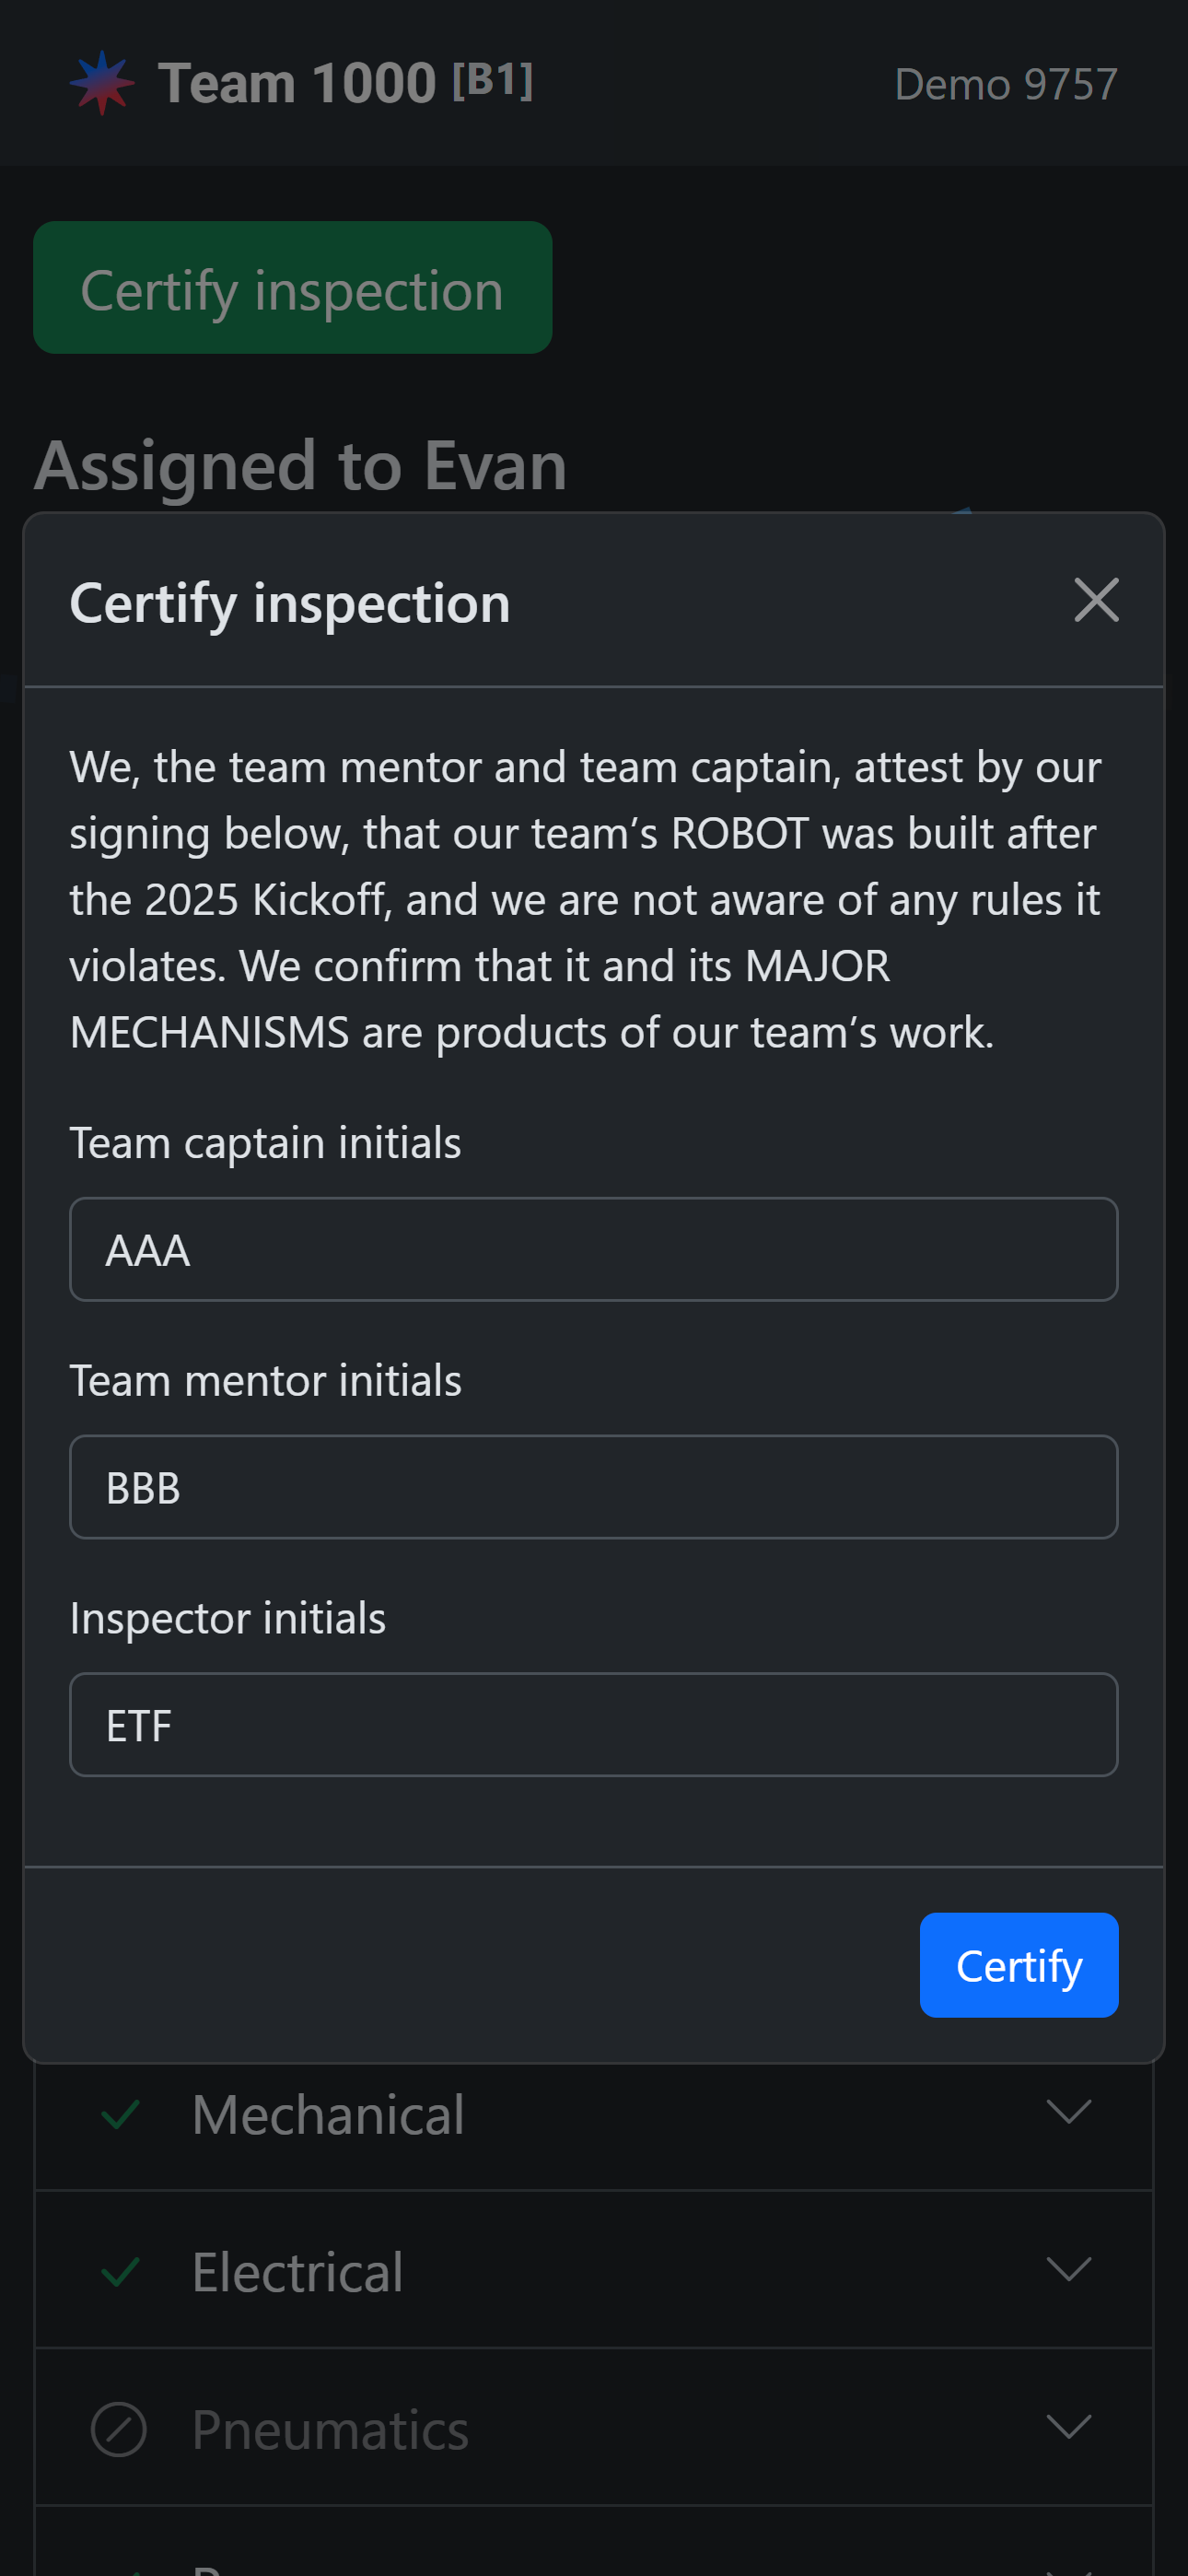
Once all inspection items are checked, you are ready to certify that the team has passed an initial, complete inspection. Tap the “Certify inspection” button and input the team’s and your initials.
Reward the team with their well-earned inspection sticker.
Reinspection
After a team is certified, any further inspection issues are handled through reinspection.
Data export
From the LRI requests page, tap the download button in the top right to download a CSV file containing all inspection data for the event. If you lose access to the event before you have a chance to export the data, email contact@frc.nexus.